No Overseas Server or Proxy Needed: Run Google Gemini Code Assist via XAI Control
Posted October 6, 2025 by XAI Technical Team ‐ 6 min read
Google Gemini Code Assist is a powerful AI programming assistant from Google Cloud, deeply integrated into various IDEs. Typically, using it requires configuring Google Cloud authentication within your IDE, but its open API architecture provides us with a more flexible solution: Register with XAI Control online to instantly create your own dedicated relay service, powered by your own Google account.
This guide uses the official Gemini CLI plus our gemini-cloud relay to give you a stable, proxy‑free Code Assist setup — with XAI Control handling secure key custody, cost governance, and a unified entry point.
• Claude Code (API Key Integration)
• Gemini CLI (API Key Integration)
Prerequisites
Before you begin, make sure you have:
- A Google account with Gemini or Gemini Code Assist access enabled.
- An XAI Control account: Sign up at a.xaicontrol.com. See xairouter.com/docs/products/xai-control for details.
- Node.js (to install Gemini CLI) and the Google Cloud SDK (to sign in and manage credentials). If you haven’t installed them yet, complete Step 1 first.
Step 1: Install Required Tools
A. Install Node.js Environment
Gemini CLI is a Node.js-based command-line tool, so we need to install its runtime environment first.
macOS Installation
Method 1: Using Homebrew (Recommended)
# Update Homebrew
brew update
# Install Node.js
brew install node
Method 2: Download from Official Website
- Visit https://nodejs.org/
- Download the LTS (Long Term Support) version for macOS.
- Open the downloaded
.pkgfile and follow the installation wizard.
Windows Installation
Method 1: Download from Official Website (Recommended)
- Visit https://nodejs.org/
- Click on the "LTS" version to download.
- After downloading, double-click the
.msifile and follow the installation wizard with default settings.
Method 2: Using Package Managers
# Using Chocolatey
choco install nodejs
# Or using Scoop
scoop install nodejs
Verify Node.js Installation
node --version
npm --version
B. Install Gemini CLI (official)
Install the official Google Gemini CLI.
macOS Installation
Method 1: Using Homebrew (Recommended)
brew install gemini-cliMethod 2: Using npm
npm install -g @google/gemini-cliWindows Installation
Open PowerShell (recommended to run as administrator) and run:
npm install -g @google/gemini-cliLinux Installation
npm install -g @google/gemini-cliVerify Installation
gemini --versionIf the version number is displayed, Gemini CLI has been successfully installed.
C. Install Google Cloud SDK (gcloud)
Google Cloud SDK (gcloud) is used to obtain authentication tokens for your Google account.
macOS Installation
Using Homebrew (Recommended)
brew install --cask google-cloud-sdkWindows Installation
Visit https://cloud.google.com/sdk/docs/install to download and install.
Linux Installation
# Download and execute the installation script
curl https://sdk.cloud.google.com | bash

# Restart your shell
exec -l $SHELL

# Initialize gcloud
gcloud init
Verify Installation
gcloud --versionStep 2: Obtain Your GEMINI_REFRESH_TOKEN (Refresh Token)
The refresh token is a long‑lived Google credential. The relay exchanges it for short‑lived access tokens to call the Code Assist API on your behalf.
Application Default Credentials (Recommended)
Run the following command in your terminal, which will open a browser for authentication:
gcloud auth application-default loginLog in to your Google account in the browser and grant authorization.
After successful authentication, gcloud will save the credentials to a local configuration file.
View and extract the refresh token:
# macOS/Linux
cat ~/.config/gcloud/application_default_credentials.json

# Windows (PowerShell)
Get-Content $env:APPDATA\gcloud\application_default_credentials.json
In the JSON output, find the
refresh_tokenfield and copy its value. That’s theGEMINI_REFRESH_TOKENused below.
Step 3: Add a Provider in XAI Control (Custody Your Refresh Token)
Store GEMINI_REFRESH_TOKEN in XAI Control so the platform can perform token refresh/rotation and enforce governance for you.
- Sign in: a.xaicontrol.com
- Go to “Model Providers” → “Add Provider Key”
- Suggested fields:
- Name (optional):
My-Gemini-Token - Level:
1(or any positive integer for grouping/routing) - Provider:
http://172.31.88.86:7795(our cloud‑hosted gemini-cloud provider; use this exact address) - SecretKey: paste the
GEMINI_REFRESH_TOKENfrom Step 2
- Save.
Note: gemini-cloud is our open‑source/managed Code Assist‑compatible layer. It turns your refresh token into access tokens and patches requests as needed. By default, use our hosted provider http://172.31.88.86:7795; self‑hosting is optional.
Step 4: Point Gemini CLI at your Relay (Most Important)
By default, Gemini CLI’s Code Assist mode talks directly to Google. To go through your relay (managed or self‑hosted gemini-cloud), override the Code Assist endpoint used by the CLI.
The environment variable name (from the official source) is: CODE_ASSIST_ENDPOINT (recommended default: https://api.xaicontrol.com). Additionally, to let the CLI authenticate to the relay gateway, set GOOGLE_GENAI_USE_GCA=true and provide your XAI API Key via GOOGLE_CLOUD_ACCESS_TOKEN.
macOS / Linux
Temporary (current session, recommended):
export CODE_ASSIST_ENDPOINT="https://api.xaicontrol.com"
export GOOGLE_GENAI_USE_GCA=true
export GOOGLE_CLOUD_ACCESS_TOKEN="your XAI API Key"
Permanent:
# zsh (macOS default)
echo 'export CODE_ASSIST_ENDPOINT="https://api.xaicontrol.com"' >> ~/.zshrc
echo 'export GOOGLE_GENAI_USE_GCA=true' >> ~/.zshrc
echo 'export GOOGLE_CLOUD_ACCESS_TOKEN="your XAI API Key"' >> ~/.zshrc
source ~/.zshrc

# bash
echo 'export CODE_ASSIST_ENDPOINT="https://api.xaicontrol.com"' >> ~/.bash_profile
echo 'export GOOGLE_GENAI_USE_GCA=true' >> ~/.bash_profile
echo 'export GOOGLE_CLOUD_ACCESS_TOKEN="your XAI API Key"' >> ~/.bash_profile
source ~/.bash_profile
Windows (PowerShell)
Temporary (current window, recommended):
$env:CODE_ASSIST_ENDPOINT = "https://api.xaicontrol.com"
$env:GOOGLE_GENAI_USE_GCA = "true"
$env:GOOGLE_CLOUD_ACCESS_TOKEN = "your XAI API Key"
Permanent (user level):
[System.Environment]::SetEnvironmentVariable("CODE_ASSIST_ENDPOINT", "https://api.xaicontrol.com", [System.EnvironmentVariableTarget]::User)
[System.Environment]::SetEnvironmentVariable("GOOGLE_GENAI_USE_GCA", "true", [System.EnvironmentVariableTarget]::User)
[System.Environment]::SetEnvironmentVariable("GOOGLE_CLOUD_ACCESS_TOKEN", "your XAI API Key", [System.EnvironmentVariableTarget]::User)
Optional: to force “Login with Google (GCA)” Code Assist mode when running headless scripts, set:
export GOOGLE_GENAI_USE_GCA=trueNote: Code Assist mode does not use
GEMINI_API_KEY. If you prefer the “Gemini API Key (AI Studio)” flow, see the “Tools” page at /en/docs/tools/gemini-cli/. Tip: You can find your XAI API Key in the welcome email (“Welcome to XAI - Your Account is Ready!”) or in the console profile.
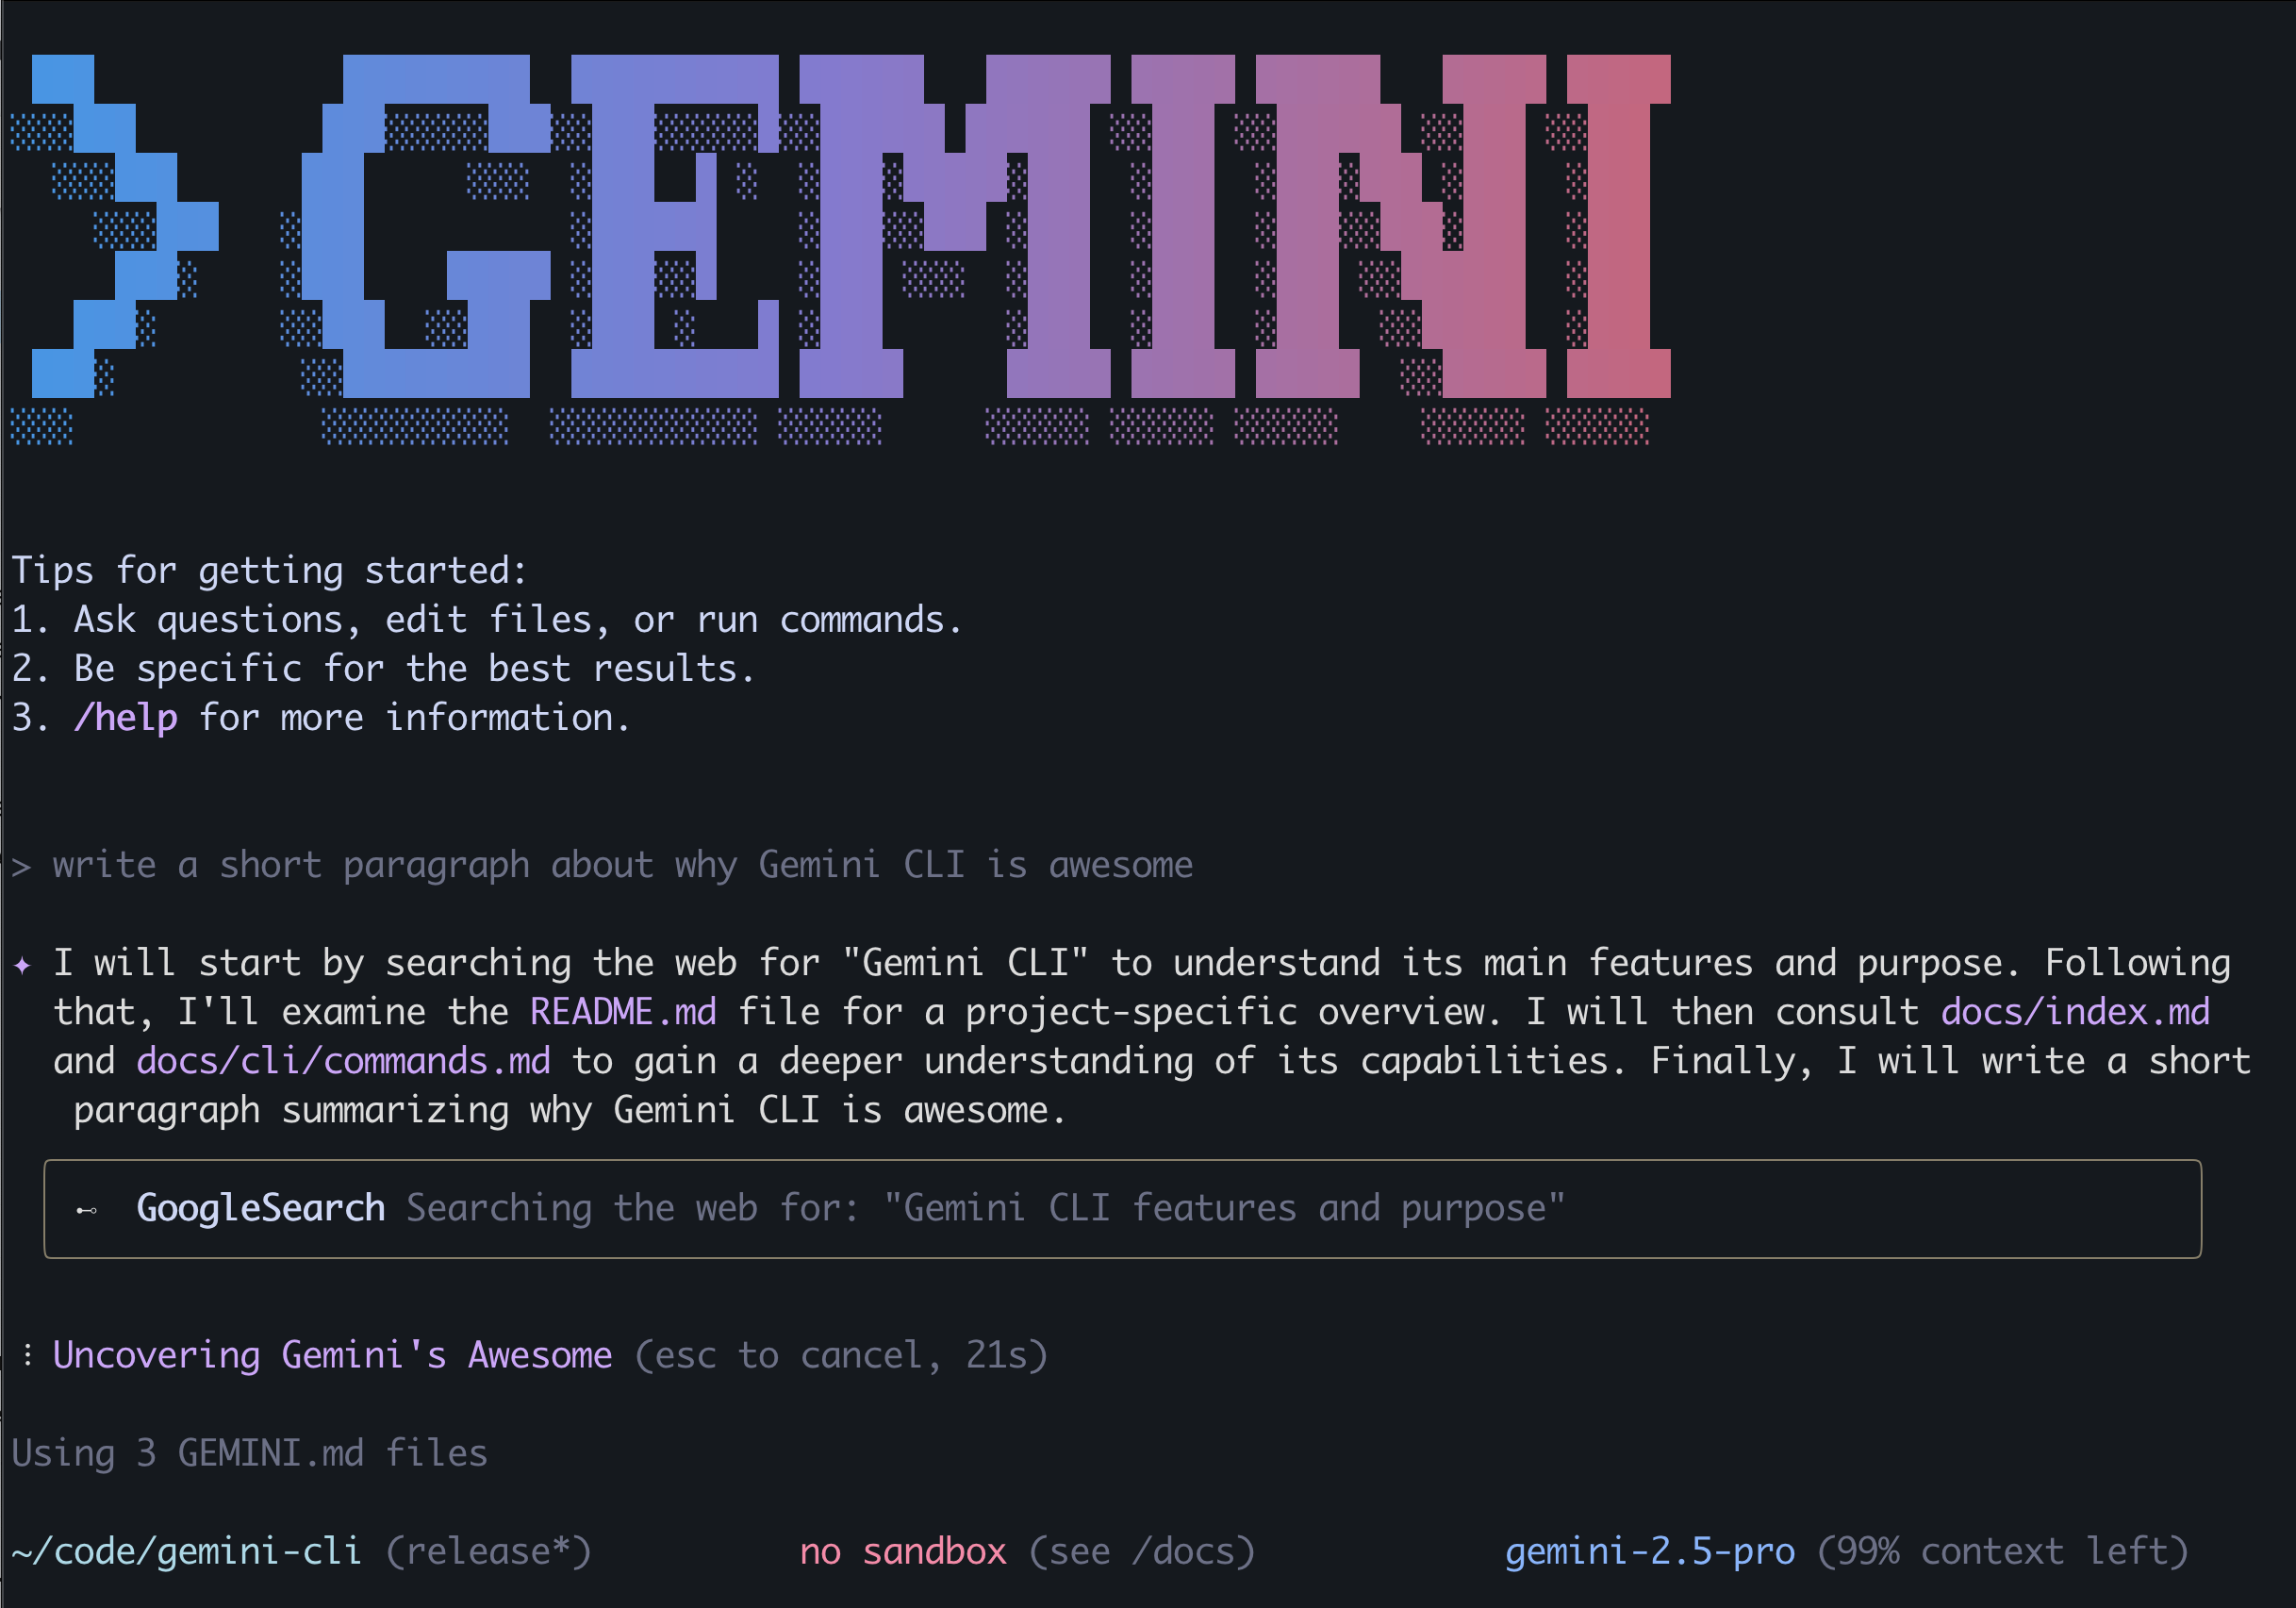
Step 5: Start Using!
🎉 Congratulations! All configurations are complete. Now you can interact with Gemini in your terminal just like using the official service.
Example 1: Enter Interactive Mode (first run will prompt Google sign‑in)
geminiYou: >> Write a quicksort algorithm in PythonExample 2: Non-Interactive Prompt
gemini -p "Explain what recursion is"Example 3: Include Specific Directory Context
gemini --include-directories ./src,./libAs long as CODE_ASSIST_ENDPOINT points to https://api.xaicontrol.com, gemini requests will be stably proxied to Google Code Assist.
Related Resources
- Google Gemini Code Assist Official Documentation: Learn about the features and capabilities of Gemini Code Assist.
- Google Cloud SDK Documentation: Learn how to use the gcloud command-line tool.
- Gemini API Documentation: For the “API Key” flow, use this together with our “Tools” page.
- Gemini CLI GitHub Repository: View the source code and usage of Gemini CLI.
Why Choose This Approach?
- Unified Management: Keep OpenAI, Anthropic, Gemini, etc. in one place — a.xaicontrol.com.
- Account Allocation: Grant per‑user/project quotas and model permissions — m.xaicontrol.com.
- Security & Reliability: Original Google credentials never live in local files; we store them with zero‑trust encryption.
- Cost & Governance: Fine‑grained quotas, model allowlists, and rate limits with complete usage audit trails.
- High Availability: Managed relay with failover and key rotation for stable, production‑grade usage.